This guide explains how to convert HDMI to IPTV. You need more than a cable adapter. Use an HDMI encoder, or a capture card and computer, to turn the HDMI signal into a network stream. A compatible IPTV server or player must then receive and play that stream.
The phrase “convert HDMI to IPTV” can describe two different tasks:
- Send video from an HDMI source over a network. For example, send a camera or presentation to other screens.
- Watch an IPTV service on a TV with HDMI. Connect a compatible streaming device to the TV with an HDMI cable. The cable connects the player to the screen; it does not create an IPTV service.
This guide covers the first task: sending video from an HDMI source over an IP network.
If you meant that you want to watch an IPTV subscription on your television, that is a different setup. Use our IPTV setup guide for compatible apps and devices, or visit the IPTV FAQ for common account questions.
How HDMI-to-IPTV conversion works
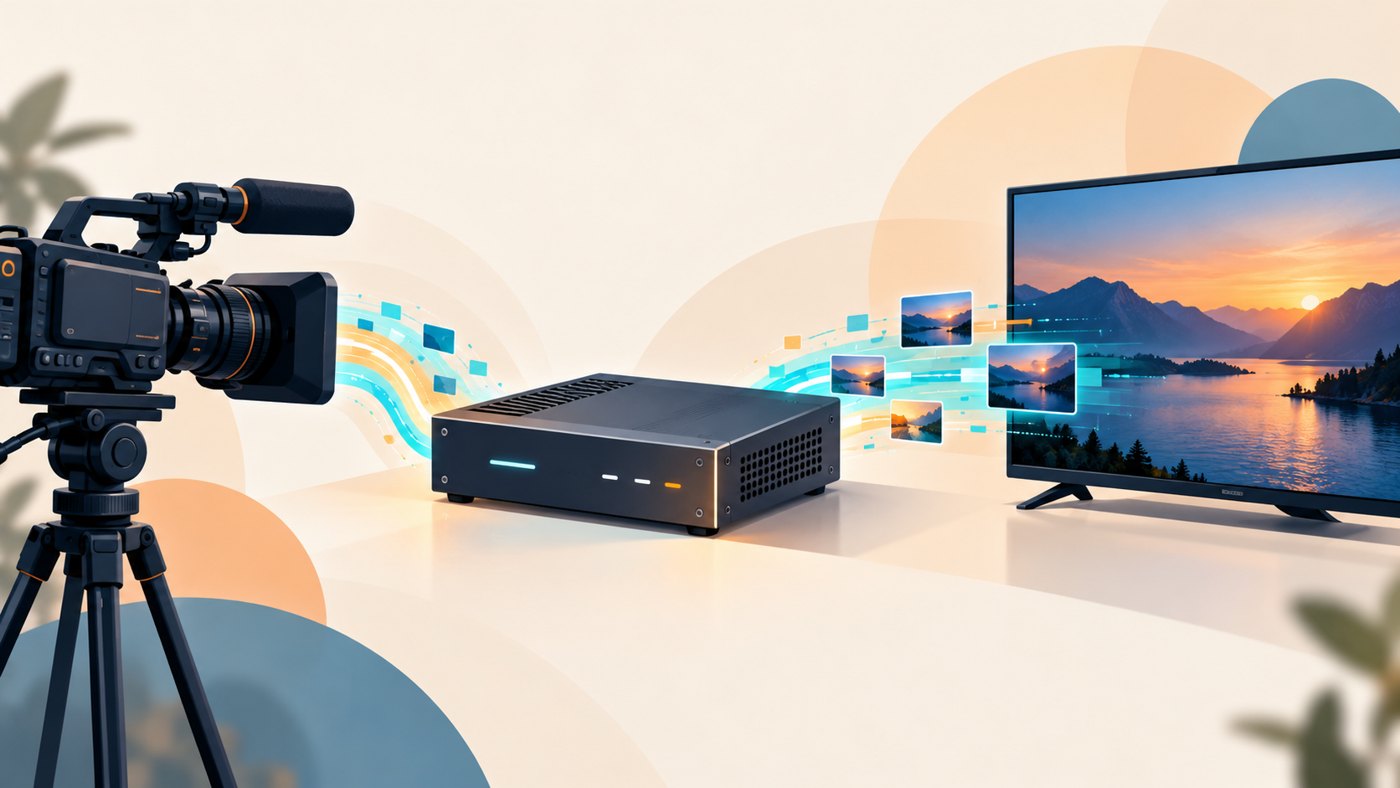
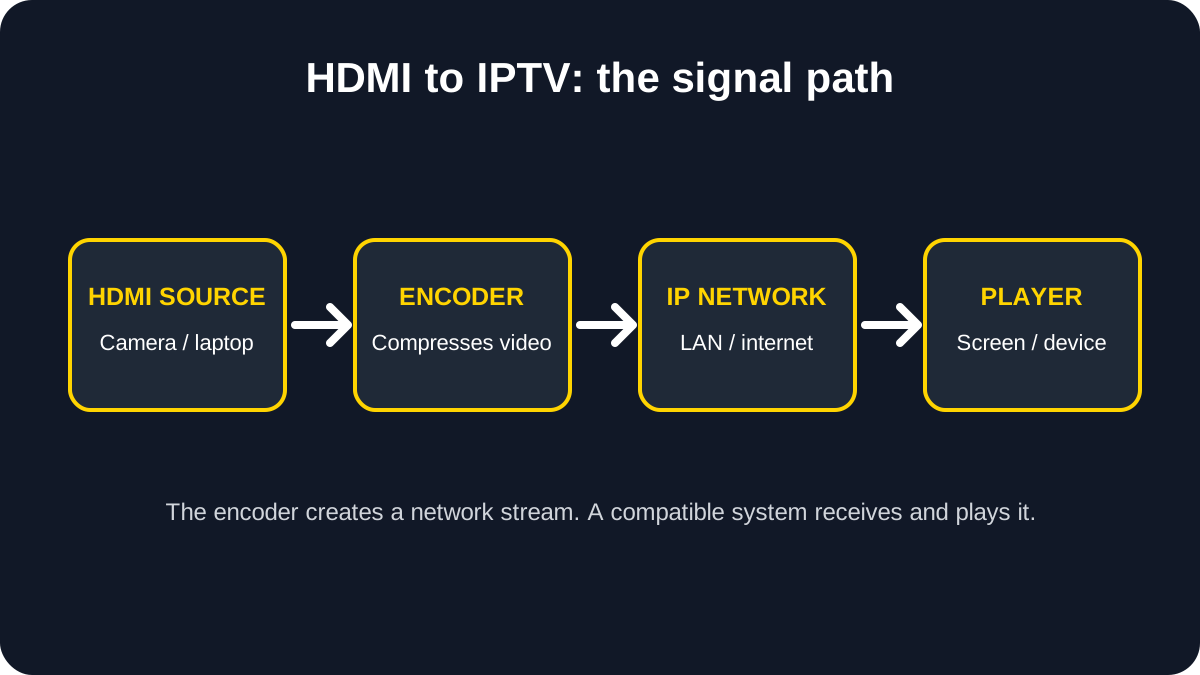
HDMI carries audio and video from a source device to a screen. IPTV delivers video over an IP network, such as a local network or the internet. An encoder connects these systems. It receives the HDMI signal, compresses it into a video format, and sends it using a network protocol. A receiver or IPTV platform then plays the stream.
A basic signal path looks like this:
HDMI source → HDMI encoder → IP network → IPTV server or player → screen
Some encoders can send a stream directly to compatible software or platforms. A larger IPTV system may also include a server, user access controls, channel management, an electronic program guide, and many receiving devices. Choose your setup based on who needs to watch and where.
What equipment do you need?
The right equipment depends on your goal. Use this table to compare common options.
| Option | What it does | Best for | Main limitation |
|---|---|---|---|
| HDMI-to-IPTV hardware encoder | Encodes HDMI video and sends it over a network | Dedicated, ongoing streams | Costs more than a basic capture card |
| Capture card and computer | Sends HDMI video into software such as OBS | Testing, presentations, and flexible setups | The computer must stay on and be configured |
| HDMI-over-IP extender | Sends HDMI to a receiver over a network | Showing the same screen in another room | May not create a standard IPTV stream |
| HDMI-to-coax modulator | Converts HDMI to a signal for coax distribution | Some in-building TV systems | Uses RF distribution, not IPTV over IP |
Before buying, check the device’s supported resolution, frame rate, audio formats, protocols, and network requirements. Some encoders support H.264 or H.265 video and protocols such as RTMP, SRT, HLS, RTSP, or RTP. Support varies by model. Check the encoder manufacturer’s specifications and confirm that your receiving software supports the same format.
Option 1: Use an HDMI encoder
A hardware encoder is a separate device. It takes an HDMI input and sends a stream to a network destination. Many models have a web interface where you set the destination address, stream key, resolution, bitrate, and protocol.
This is often a practical choice for a dedicated installation. The encoder performs the video conversion, so you do not need to rely on a general-purpose computer for every stream. Check the model’s exact input and output specifications before ordering.
Option 2: Use a capture card and computer
A capture card sends HDMI video to a computer over USB or another supported connection. Streaming software can then encode the video and send it to a compatible server or platform.
This option is useful for tests and flexible productions. You can control scenes, audio, and overlays from the computer. OBS Studio is free software for recording and live streaming. A capture card does not create a full IPTV service by itself. You still need a destination that accepts the stream and a player or system that can receive it. OBS recommends testing your settings before a live stream. See the OBS quick-start guide.
Option 3: Use an HDMI-over-IP extender
An extender usually has a transmitter near the HDMI source and a receiver near the display. It sends video across a network cable or local network. This can work well when you want to show the same screen in another room.
Many extenders use a vendor-specific system. They may not provide a stream that a standard IPTV app or server can play. Read the product documentation before treating an extender as an IPTV encoder.
How to convert HDMI to IPTV step by step
1. Identify your source
Start with the device that produces the HDMI signal. It could be a camera, laptop, media player, game console, or presentation system. Check the source’s output resolution and frame rate. Then compare them with the formats accepted by the encoder or capture card. If the source sends a format the encoder cannot handle, you may see a blank screen or an unsupported-signal message.
2. Choose the destination
Decide where the stream needs to go:
- One screen in another room: an HDMI-over-IP extender may be enough.
- A computer or compatible media player on the same network: a direct network stream may work.
- Several viewers or channels: you may need IPTV server software or a dedicated headend.
- Viewers outside the building: use a streaming platform or server designed for internet delivery. Plan for network capacity, access control, and stream security.
Do not assume every IPTV app accepts every protocol. Confirm that the encoder’s output matches the receiver’s input.
3. Connect the HDMI source
Connect an HDMI cable from the source’s output to the encoder’s HDMI input. If you use a capture card, connect it to the computer and install the required driver or software. Open your streaming software and confirm that the capture card appears as a video source.
4. Connect the encoder to the network
Connect the encoder to a router or network switch. For a permanent stream, wired Ethernet is often easier to manage than Wi-Fi. It can also reduce interruptions caused by weak wireless coverage.
For a local stream, confirm that the sender and receiver can communicate. Managed networks may use VLANs, firewalls, or multicast settings that affect video traffic. Ask your network administrator for help if you do not manage those settings.
5. Choose a format and protocol
Set the video codec, resolution, frame rate, bitrate, audio settings, and protocol. Both the encoder and receiving system must support the settings you choose.
For an initial test, start with a lower resolution or bitrate. Confirm that the video and audio play correctly before increasing quality. Higher bitrates use more network capacity. Higher resolutions also require compatible equipment at every step.
- RTMP or RTMPS: often used to send a live stream to a compatible server or platform.
- SRT: used by some encoders to transport video over IP networks.
- HLS: used for playback through compatible web and media players.
- RTP or MPEG-TS over UDP: may be used in professional or managed distribution systems.
Protocol names do not guarantee that two products will work together. Check both manuals and confirm the required ports and connection settings.
6. Enter the stream destination
Your encoder may ask for a server address, stream path, or stream key. Get these details from your receiving software or streaming platform. They are not universal.
Enter each value exactly as provided. Treat stream keys like passwords. Do not share them in screenshots, public pages, or support messages. If a key is exposed, replace it using the platform’s controls.
7. Test playback
Open the destination player or IPTV system and test the stream. Check the picture, audio sync, continuity, image quality, and delay. Test every type of device that viewers will use.
Run the test under the same network conditions you expect during normal use. A short test before an event can reveal problems with settings, ports, or network capacity. OBS also recommends testing before a live stream. Review its testing advice.
Example setup: show a presentation in another room
Imagine a training room that needs to show a laptop presentation on a display in a nearby office. If the goal is to show the same picture on one screen, an HDMI-over-IP extender may be the simplest choice. Connect the transmitter to the laptop and the receiver to the office display.
If staff also need to watch on computers or other compatible players, choose an encoder that produces a network stream those devices can play. The receiving software must support the selected protocol. This is an illustrative example, not a test of a specific product. Check the equipment specifications and network design before buying.
Common problems and how to fix them
The encoder shows “no signal”
Check that the cable connects the source’s HDMI output to the encoder’s HDMI input. Confirm that the source is on and set to a resolution the encoder supports. Try another cable or display to isolate the issue.
The stream does not appear in the player
Verify the server address, stream path, and key. Confirm that both ends support the selected protocol. Check whether a firewall blocks the connection.
Video plays, but there is no sound
Check the source’s audio output, the encoder’s audio input selection, and the receiver’s audio settings. Some capture devices let you select audio separately from video.
The stream stutters or buffers
Test with a lower bitrate. Use a wired connection where possible. Check for network congestion and confirm that the receiver can handle the selected resolution and codec.
The stream has too much delay
Delay can come from encoding, network transport, server processing, or playback buffering. Look for low-latency settings supported by both the encoder and receiver. Lower latency may involve trade-offs in reliability or compatibility.
The picture is black or protected content will not pass through
Some HDMI sources use HDCP, a content protection system. Protected output may not be available to a capture or encoding device. Use only sources and content you are authorized to distribute. Do not try to bypass copy protection. HDMI materials describe HDCP as a way to protect content from unauthorized reproduction and distribution. Read HDMI Licensing Administrator’s explanation.
Important: an encoder does not grant content rights
An encoder changes the format and transport of a signal. It does not grant permission to distribute the content. Before streaming a film, television channel, sports event, or other protected material, confirm that you have the necessary rights. This applies to private networks, public events, commercial venues, and internet streams. If you are unsure, get permission from the rights holder or seek qualified legal advice.
Frequently asked questions
Can I convert HDMI to IPTV with an adapter?
Usually, no. A basic HDMI adapter changes a connector or signal format. To create a network stream, you generally need an HDMI encoder or a capture card and computer, plus a compatible destination.
What is the difference between HDMI over IP and IPTV?
HDMI over IP often means extending an HDMI signal across a network to another display. IPTV usually means delivering video streams to compatible clients through an IP-based system. Some products support both, but the terms are not interchangeable.
Can I use OBS to turn HDMI into an IPTV stream?
OBS can use a supported capture device as a video source and send a stream to a compatible destination. The destination must accept the output format and protocol. OBS by itself is not a complete IPTV service or distribution system.
Can I watch the stream on a smart TV?
Possibly. The TV or connected device needs a player that supports the protocol or IPTV system used by the encoder. Check compatibility before choosing equipment. If you mean setting up a Yeah IPTV subscription on your TV, follow our device setup guide.
Can I stream HDMI over Wi-Fi?
Some setups may work over Wi-Fi. Results depend on coverage, interference, network load, bitrate, and device support. Test under normal network conditions. Ethernet is often easier to troubleshoot for a fixed installation.
Why does a capture card show a black screen?
Possible causes include an inactive HDMI source, unsupported resolution, incorrect input selection, a driver problem, or HDCP-protected content. Check the device manuals and use only content you are allowed to capture.
Do I need an IPTV server?
Not always. A direct encoder-to-player setup may be enough for a small local test. A larger system may need server software or a headend to manage streams, users, channels, and delivery to multiple viewers.
Does converting HDMI to IPTV improve picture quality?
No. Encoding can compress a signal, but it cannot add detail that was not in the original source. Final quality depends on the source, encoder settings, network, and receiving device.
How to choose an HDMI encoder
Compare devices against the entire signal path, not just the HDMI connector. A product may accept HDMI but still lack the output format or protocol your player needs.
- Input format: Confirm the supported resolution, frame rate, and audio formats. Check the source device’s output settings as well.
- Codec: Choose an encoder format supported by the receiver. H.264 is widely supported. H.265 may reduce bandwidth in some workflows, but every device in the path must support it.
- Protocol: Match the encoder output to your server or player. Ask the provider for the required protocol, address format, ports, and stream path before you buy.
- Latency: A presentation or security monitor may need a quick response. A stream intended for general viewing may allow more buffering for steadier playback.
- Network connection: Check Ethernet speed, power needs, and whether the device requires multicast or special switch settings.
- Management and support: For an installation that runs every day, check firmware updates, monitoring tools, warranty, and vendor support.
For a single screen, a simple extender may cost less and need fewer settings. For playback in software, choose an encoder with a protocol your player accepts. For many viewers, ask an AV or network professional to review bandwidth, access control, and server capacity before deployment.
Local network stream or internet stream?
A local network stream stays inside your home, office, campus, or venue. The encoder and receivers connect to the same managed network. This can be suitable for a conference room or internal display system, but network switches and firewall rules still matter.
An internet stream must travel beyond the local network. You may need a server or streaming platform that accepts the encoder’s output and distributes it to viewers. Plan for upload capacity at the source location, viewer access, account security, and the platform’s terms. Do not expose an encoder’s management page or stream key to the public internet.
In both cases, test with the actual number of viewers and devices you expect. A stream that works on one laptop may behave differently when many devices connect or when the network is busy.
Conclusion
To learn how to convert HDMI to IPTV for your setup, send the signal through an encoder or capture card, then deliver the stream to a compatible server or player. Choose equipment based on your source, destination, network, supported protocols, and latency needs.
For a simple room-to-room display, an HDMI-over-IP extender may be enough. For playback through IPTV-compatible software or across several devices, use an encoder and a system that supports its stream format. Test the full setup before relying on it, and only distribute content you have permission to share.