
What is the best video encoder for IPTV? For a flexible, low-cost software workflow, FFmpeg with the libx264 H.264 encoder is a strong starting point. For a reliable, always-on live channel or an HDMI source, a dedicated hardware encoder may be a better fit. The right choice depends on what you are encoding, where the stream will go, which devices must play it, and how much delay you can accept.
One point often causes confusion: most IPTV viewers do not choose a video encoder in their TV app. The encoder is normally selected by the broadcaster, content owner, or streaming operator that creates the stream. If you simply want to watch IPTV, focus on your app and device settings. If you are building or distributing a stream, this guide will help you choose the encoding tools and settings.
What is a video encoder for IPTV?
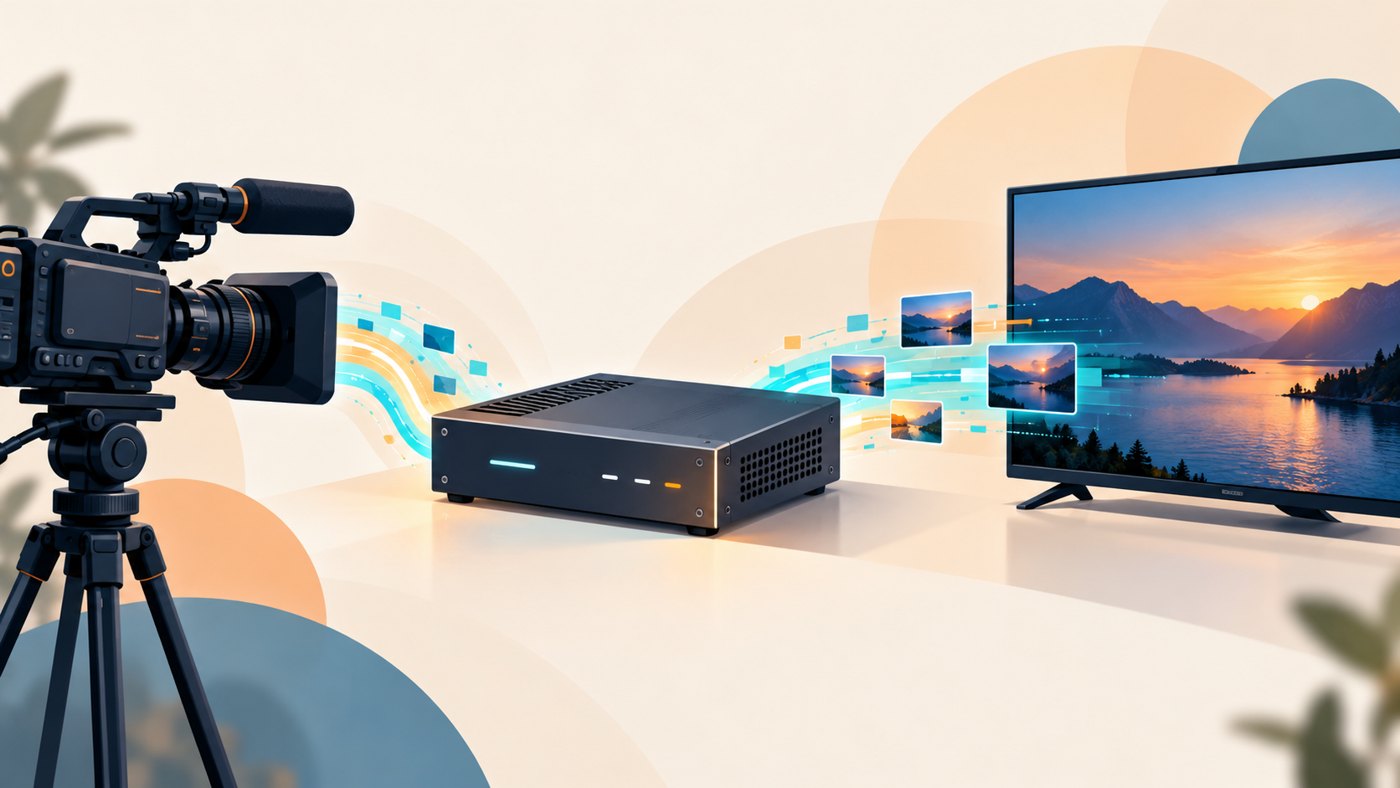
A video encoder converts raw or compressed video into a format and bitrate that can be delivered over a network and decoded by a viewer’s device. It may be software running on a computer, an encoding chip in a camera or capture card, or a dedicated appliance that receives HDMI or SDI video.
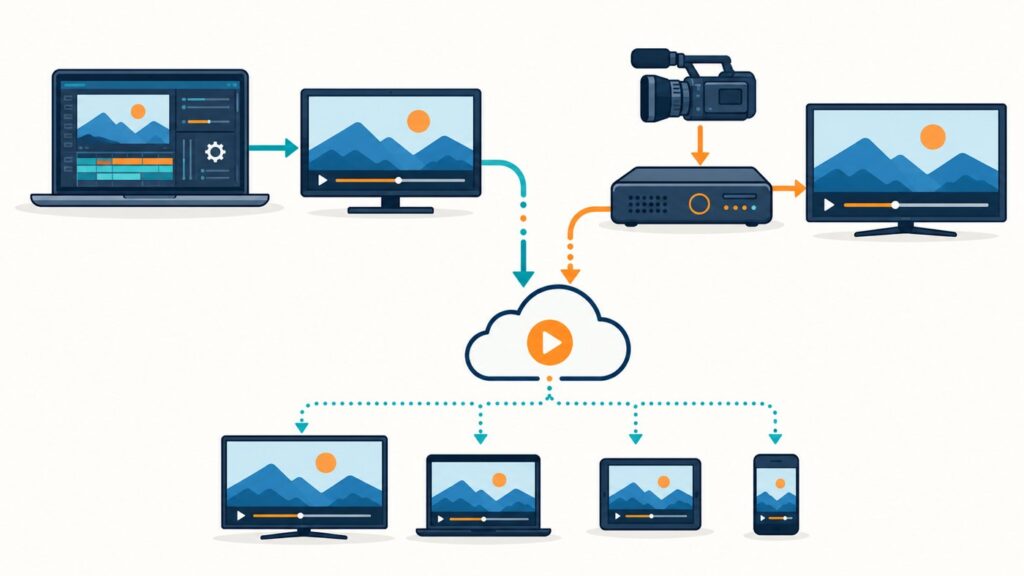
An encoder is only one part of an IPTV delivery chain. A typical live workflow captures a source, encodes video and audio, packages the output into a delivery format such as HLS or MPEG transport stream, and sends it through a server or content delivery network. The player then reads the stream and displays it. A stream can fail even when the encoder works if packaging, network delivery, authentication, or player compatibility is misconfigured.
If you are starting with HDMI, see our guide to converting an HDMI source to an IPTV stream. That setup uses capture and encoding equipment; it does not turn an HDMI cable directly into an internet stream by itself.
What Is the Best Video Encoder for IPTV?
| Use case | Practical starting choice | Why | Main trade-off |
|---|---|---|---|
| Testing or a small stream | FFmpeg with libx264 | Flexible, scriptable, and widely documented | Needs command-line knowledge and a capable host computer |
| Desktop, camera, or event streaming | OBS Studio with a compatible software or hardware encoder | Visual controls for scenes, audio, and streaming output | OBS is a production application, so settings and stream packaging still need to match the destination |
| Continuous HDMI or SDI channel | Dedicated hardware encoder | Purpose-built for unattended capture and operation | Higher upfront cost; check protocols, codecs, monitoring, and support before buying |
| Large VOD library or managed cloud workflow | Cloud encoding service | Can create multiple output profiles without maintaining local encoding servers | Usage costs, upload time, configuration, and cloud delivery design |
| Maximum legacy device reach | H.264/AVC, usually in a supported HLS or MPEG-TS workflow | Broad device support in many established playback environments | May use more bandwidth than newer codecs at comparable quality |
| Bandwidth-sensitive delivery | HEVC/H.265 or AV1 only after compatibility checks | Newer codecs can improve compression efficiency in suitable workflows | Older devices, player apps, and platforms may not support every profile or container |
These are starting points, not universal performance rankings. Test the actual encoder, output format, network, and playback devices you plan to use.
Encoder software, hardware, and codecs are different things
The word “encoder” can refer to three related but different parts of a system:
- Encoding software is the application or service that controls the job. Examples include FFmpeg, OBS Studio, and cloud encoding products.
- Encoding hardware is the processor or appliance that performs the work. It can be a computer CPU, a GPU or media engine, or a dedicated HDMI/SDI encoder.
- A codec is the method used to compress and decompress the video. Common examples include H.264/AVC, HEVC/H.265, and AV1.
For example, FFmpeg is a multimedia framework. It can use the libx264 software encoder to create H.264 video, or it may use a hardware encoder available on the computer. The settings, quality, speed, and supported formats depend on the selected encoder and build. FFmpeg’s official documentation explains how its encoders and codec options work: FFmpeg codecs documentation.
Why H.264 is often the safest first test
H.264, also called AVC, is a practical default when compatibility matters. It is supported by many streaming devices and player workflows. Apple’s current HLS authoring specification lists H.264/AVC among the supported video formats and describes container requirements for HLS delivery. Always check the target devices and platform rules, because support depends on profiles, levels, containers, and the player.
HEVC/H.265 and AV1 may reduce the data needed for a given level of quality in the right setup, which can help with bandwidth or storage. But compression efficiency is only useful if the receiver can decode the codec and the delivery platform accepts it. If a household uses a mixture of older televisions, set-top boxes, and mobile devices, a more efficient codec can create playback problems for some viewers.
Use H.264 as a compatibility baseline. Add another codec only after confirming device support and testing the full playback path. Apple’s HLS authoring specification is a useful reference for HLS output requirements on Apple devices.
Software encoders: FFmpeg and OBS
FFmpeg with libx264
FFmpeg is a good fit when you want automation, repeatable command-line jobs, or control over input, encoding, and packaging. Its libx264 option uses the x264 H.264 encoder when that library is included in the FFmpeg build. You can check which encoders are available in your installation rather than assume a particular option is present.
It can be used for test streams, file conversion, and some live workflows. It is not automatically the best choice for a novice who wants a one-button appliance, and a badly configured command can create output that buffers, looks poor, or fails in a target player. Start with a short test, inspect the output, and verify it on the actual devices.
OBS Studio
OBS Studio is useful when your source includes a camera, computer display, multiple scenes, graphics, or live audio mixing. Its interface helps operators manage a production and choose from available encoders. OBS can use software encoding or supported hardware encoding, depending on the computer and setup.
OBS is not a substitute for confirming the delivery format required by your IPTV server or distribution platform. Check the output protocol, resolution, frame rate, keyframe interval, audio format, and destination requirements. The official OBS Studio overview describes the main streaming and encoder controls.
When dedicated hardware is a better choice
A dedicated hardware encoder is worth considering when a channel must run continuously, an operator needs a simple local appliance, or the source is an HDMI or SDI device that must be captured and encoded with minimal setup. Hardware can reduce the load on a general-purpose computer and may offer physical inputs, network outputs, status indicators, and remote management.
Before buying, confirm all of the following:
- Input type and supported resolution, frame rate, and color formats.
- Output protocol and container accepted by your IPTV platform.
- Video and audio codecs, including profiles and levels.
- Maximum number of outputs or simultaneous profiles.
- Latency, recovery after a network outage, and monitoring features.
- Power, cooling, firmware updates, warranty, and vendor support.
Do not buy based only on “4K” or “low latency” on a product page. A product must match the source signal and destination workflow. Check if the device can pass through or encode the audio you need, and whether your player supports its output format.
Cloud encoding for on-demand video
Cloud encoding can suit a large library, a team that needs several output sizes, or a service that does not want to maintain local transcode servers. You upload a source file, choose output settings or a preset, and retrieve encoded renditions for delivery. Managed services may offer automated quality controls and multiple codec options.
Compare the cost of storage, encoding minutes, file transfers, and delivery traffic. Measure how long uploads and jobs take. For live video, confirm that the product supports the needed live protocol and latency target; an on-demand transcoding job is not the same as a live IPTV encoder.
AWS’s MediaConvert video quality guidance explains how output codec and quality settings affect encoding. Use vendor documentation for the specific service and validate results on your own content.
How to choose codec, bitrate, and resolution
Start with playback compatibility
List the devices, operating systems, apps, and delivery platform that must play the stream. Confirm codec, container, audio, and profile support for each. If one viewer device is older or limited, it can set the practical compatibility target for a channel.
Set resolution and frame rate from the source
Do not upscale a low-resolution source and expect new detail. Keep the output resolution and frame rate appropriate to the original material and the audience’s devices. For fast sports or motion, frame-rate consistency matters; for a talk channel, the optimal settings can differ.
Choose a rate-control mode and test it
Constant bitrate can help workflows that need a predictable stream rate. Variable bitrate or quality-based modes can spend more data on complex scenes and less on simple scenes. The best mode depends on the protocol, network, and platform. Measure visual quality and bitrate through scenes with motion, fine detail, dark areas, and rapid changes.
AWS documents trade-offs among rate-control modes in its rate-control comparison. Treat vendor recommendations as a starting point and validate with the source material you actually distribute.
Build an adaptive bitrate ladder when needed
For viewers with varied internet connections, adaptive bitrate streaming can offer multiple versions of the same program. The player can switch between renditions as network conditions change. Each rendition needs consistent timing and compatible packaging. A ladder that is too wide wastes bandwidth and storage; one that is too narrow may not serve slow connections well.
Example: choosing for two IPTV workflows
One HDMI source for a small live channel
Suppose a community organization wants to send one camera or set-top-box feed to a private viewing portal. First identify the HDMI source resolution and audio. Then confirm the portal accepts the output protocol and codec. For a temporary test, a computer with a capture device and software encoder may be enough. For continuous operation, a dedicated encoder may be easier to monitor and recover after a restart or network interruption.
Test a short stream on the actual portal and target televisions before planning a full deployment. Confirm that the source is permitted for redistribution; a device’s HDMI output does not automatically grant rights to retransmit the content.
A library of on-demand videos
Suppose a small media team needs each source file in several playback sizes. A cloud or batch workflow may be more manageable than encoding each version by hand. The team can compare H.264 output for broad compatibility with HEVC or AV1 renditions for devices known to support them. Keep the source masters, document presets, and watch the encoded files before release.
Common IPTV encoding problems
- Video stutters: check whether the encoder is overloaded, the network is dropping packets, or the output bitrate exceeds available bandwidth.
- Audio and video drift apart: verify source timestamps, frame rate conversions, and audio synchronization through the entire chain.
- Some devices show a black screen: check the codec profile, level, container, audio format, and player support.
- HLS segments fail or playback pauses: confirm playlist paths, segment delivery, keyframe/GOP alignment, and server response behavior.
- The output looks soft or blocky: test a higher quality setting, check the source quality, and inspect difficult scenes rather than judging one frame.
- High delay on a live channel: measure capture, encoding, packaging, server, and player buffers separately. Changing the encoder alone may not reduce total delay.
FFmpeg’s official HLS muxer documentation explains playlist and segment output. For HLS, the encoder and packager need compatible keyframe and segment settings; the correct values depend on the destination and workflow.
Testing checklist before launch
- Write down the source, audience devices, delivery protocol, and target latency.
- Choose a codec and container accepted by the platform and player.
- Encode a short clip with motion, fine detail, dark scenes, and audio.
- Play it on the oldest supported device as well as a current device.
- Check startup time, picture quality, audio sync, buffering, captions, and channel changes.
- Monitor CPU or hardware load, bitrate, dropped frames, and network stability.
- Run a longer test and verify that the stream recovers after a network or power interruption.
- Document the encoder preset and keep a known-good configuration for rollback.
Frequently asked questions
What is the best video encoder for IPTV?
For a flexible software setup, FFmpeg with libx264 is a strong starting point. A dedicated hardware encoder may suit a continuous HDMI or SDI channel, while a cloud service can help with large on-demand libraries. Choose based on compatibility, reliability, latency, and cost.
Is FFmpeg good for IPTV encoding?
FFmpeg can encode and package video for many workflows, and its official documentation describes available encoders and muxers. It is flexible but requires careful configuration and testing against the IPTV platform and playback devices.
Is H.264 or H.265 better for IPTV?
H.264 is a practical choice when broad device compatibility is important. H.265 may use bandwidth more efficiently in supported workflows, but confirm that every target device and player can decode it.
Do IPTV viewers need to install a video encoder?
Usually not. A viewer’s app receives and decodes a stream that was already encoded by the broadcaster or service. Encoder software is for people who create or distribute video streams.
Can I use OBS to encode an IPTV stream?
OBS can encode and send live video from cameras, displays, or other sources. Confirm that its output protocol and settings match the receiving IPTV system before relying on it for a live channel.
Do I need a hardware encoder for HDMI to IPTV?
Not always. A computer with a capture device and encoding software can work for tests or small setups. A dedicated hardware encoder may be more suitable for continuous operation or simpler appliance-style management.
Does a better encoder reduce IPTV buffering?
Not necessarily. Buffering can come from the network, server, player, or an output bitrate that is too high. A more efficient encoder may reduce data use, but the entire delivery chain must be checked.
Conclusion
The best video encoder for IPTV is the one that produces a compatible, stable stream for your source, platform, and audience. Start with H.264 when device reach is the priority. Try FFmpeg or OBS for a software workflow, consider dedicated hardware for a continuously running live channel, and evaluate cloud encoding for large on-demand libraries. Test the complete path before launch and measure playback on real devices.
If you are learning about IPTV setup, you can also read our guides to 4K IPTV requirements and Yeah IPTV setup.